
Installation
To get started with Sparrow, simply download the appropriate installation file from our Download page. For your security, it’s crucial to verify the downloaded file before installation. Detailed instructions on how to verify your download are provided directly on the Download page. Once verified, proceed with the installation process as you normally would for any software on your operating system.
Welcome to Sparrow Wallet
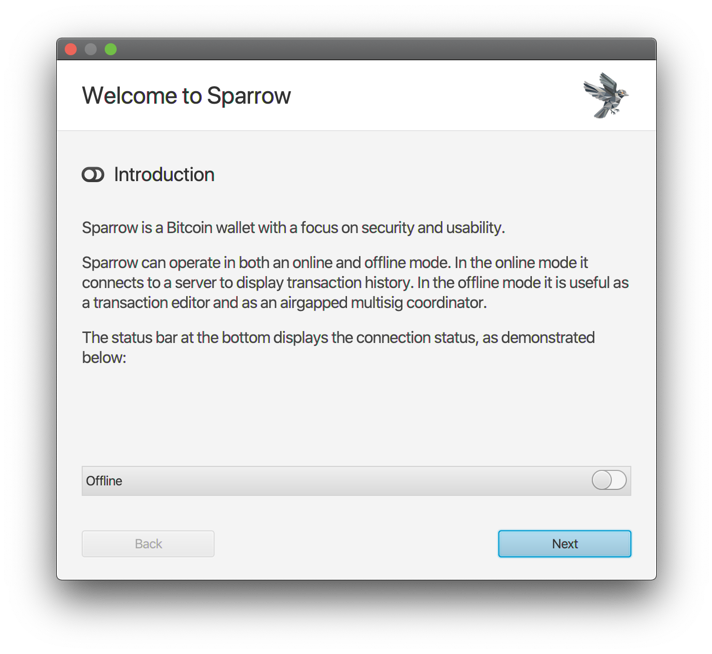
When you first launch Sparrow Bitcoin Wallet, you’ll be guided through a simple setup process. This guide will help you connect your wallet to the Bitcoin network, allowing you to manage your Bitcoin.
Sparrow offers flexibility in how you connect:
 Public Server: This is the easiest way to get started. However, be aware that using a public server means sharing your public key information with the server operator. This option is not recommended for managing large amounts of Bitcoin.
 Your Own Bitcoin Core Node: For maximum security and privacy, you can connect directly to your own Bitcoin Core node.
 Private Electrum Server: This offers a balance between convenience and privacy. You can connect to a trusted Electrum server, offering more control than a public option.
This guide focuses on connecting to a public server. This allows you to quickly experience Sparrow’s features. You can always switch between connection methods later.
Sparrow also lets you work offline. This means you can verify addresses, prepare transactions, and even sign messages without an internet connection. Use the toggle button  in the status bar to switch between online and offline modes. The button’s color indicates your current connection type.
Sparrow Server Setup
Once you’ve finished the initial setup wizard, you’ll be prompted to configure your Sparrow Bitcoin Wallet’s server connection. To begin, click the “Configure Server” button:

While Sparrow can connect to public servers for convenience, it’s crucial to prioritize your security when handling significant funds. Using a public server exposes your transactions and potentially your identity to the wider network.
For storing large amounts of Bitcoin, it’s strongly recommended to connect to a server you fully trust. This could be a server you personally manage or one run by a trusted service provider.
Remember: Your Bitcoin funds are always secure within your wallet. However, using a public server compromises your privacy. For detailed guidance on choosing the right server approach, consult the Best Practices Guide.
If you haven’t configured a server, Sparrow automatically selects a random one for initial use. You don’t need to change this setting unless you prefer a specific server.
Once you’re satisfied with your server selection, you can move on to creating your new Sparrow wallet by clicking “Create New Wallet.”
Creating Your First Wallet
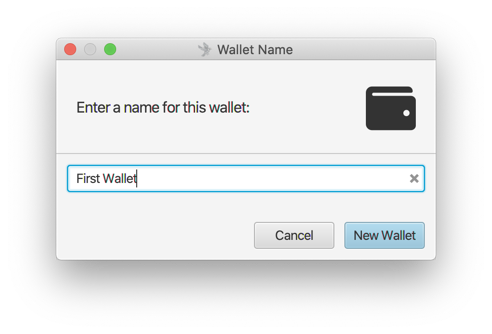
Give your wallet a descriptive name and click “New Wallet.”
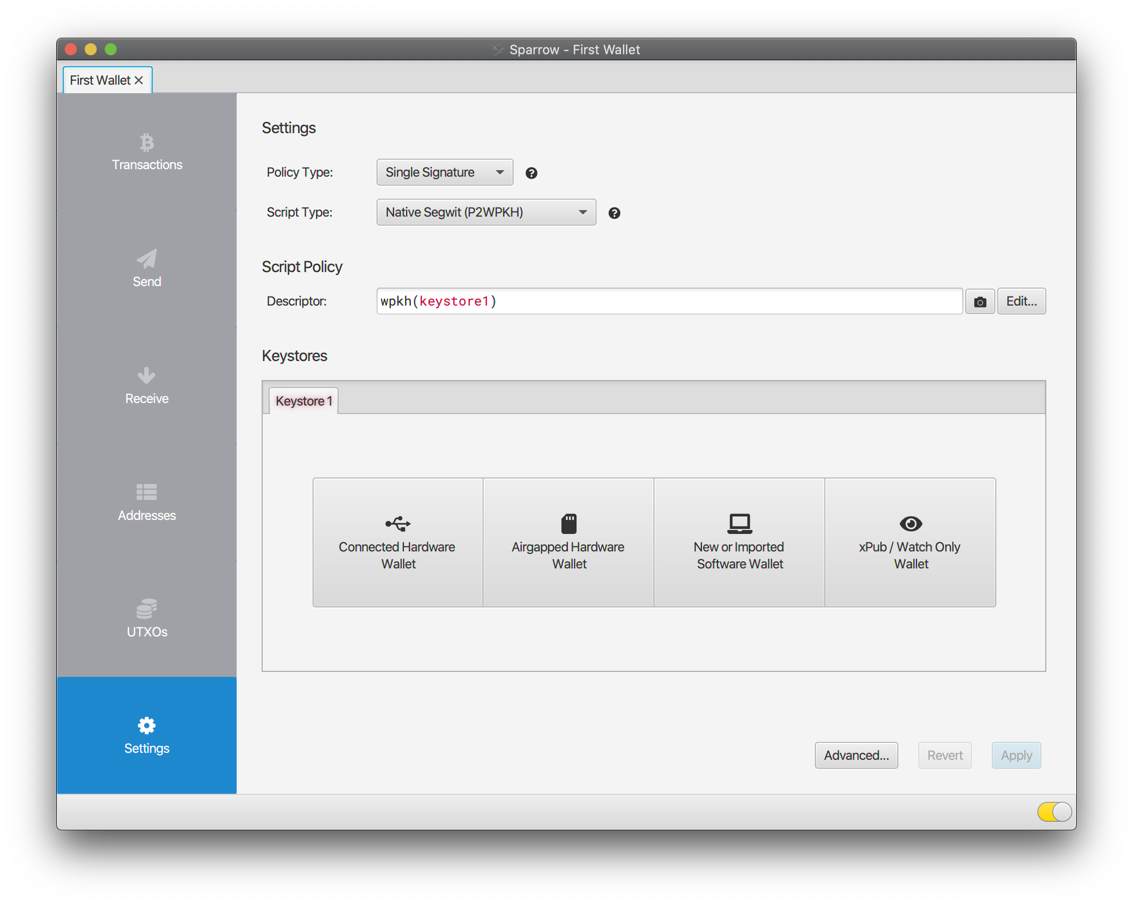
To configure your new Sparrow wallet, you’ll be presented with a Settings screen. This screen allows you to customize several crucial aspects of your wallet. Here’s what you’ll find:
| Setting | Description | Available Values | Default |
|---|---|---|---|
| Policy Type | Determines how transactions are authorized | Single Signature, Multi Signature | Single Signature |
| Script Type | Specifies the type of Bitcoin script used for transactions | Native Segwit (P2WPKH), Nested Segwit (P2WSH) | Native Segwit (P2WPKH) |
| Keystores | Lists the public and private keys associated with your wallet | Varies depending on your keys | Depends on your key configuration |
For this guide, we will be using a single signature wallet with the default Native Segwit (P2WPKH) script type. You can leave the settings as they are.
Sparrow offers four keystore types, each with its own security and convenience characteristics:
| Keystore Type | Description |
|---|---|
| Connected Hardware Wallet | For connecting your physical hardware wallet (Coldcard, Trezor, etc.) to your computer via USB. This provides high security. |
| Airgapped Hardware Wallet | For adding your Coldcard or Cobo Vault hardware wallet without connecting it to your computer. This offers the highest level of security. |
| New or Imported Software Wallet | To create a wallet with private keys stored directly in Sparrow, or to import an existing wallet (like Electrum). This is more convenient but less secure. |
| xPub / Watch Only Wallet | To create a wallet with an xpub (extended public key), allowing you to view your transactions but not spend them directly. This is for monitoring purposes. |
For this guide, we will create a Software Wallet. Select the “New or Imported Software Wallet” option.
Keystore Screen:
The Keystore screen presents three keystore types from the table above. For Software Wallets, you have two choices:
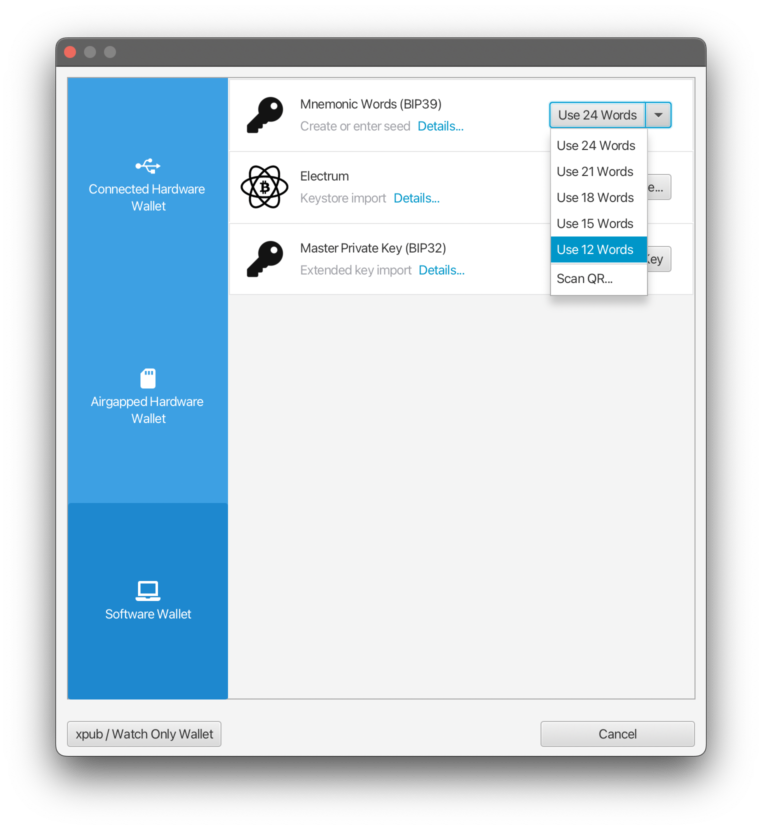
- Mnemonic Words (BIP39): This widely used standard utilizes a set of words to create a private key or seed.
- Electrum Import: Allows you to import an existing Electrum wallet.
We will use BIP39 for this guide. Choose “Mnemonic Words (BIP39)” and click on the arrow next to “Enter 24 Words” to open the dropdown. Select the minimum number of words (12) to create your seed phrase.
Clicking “Enter 12 Words” will display twelve empty text fields. These fields will hold your secret seed phrase, which is crucial for accessing your wallet. To generate a random set of 12 words, click the “Generate New” button.
Important: Ensure that the generated words are unique and do not match any previous seed phrases you may have used. You are responsible for safeguarding these words, as they are the sole key to your wallet.

- Write Down Your Words: Carefully write down the twelve generated words in the order they appear. These words are your seed phrase, and they are the only way to access your Bitcoin funds.
- Confirm Your Backup: Click “Confirm Backup…” to initiate the verification process.
- Re-enter Your Words: Click “Re-enter Words…” and carefully re-type the twelve words in the exact same order you wrote them down.
- Checksum Validation: If your words are entered correctly, Sparrow will display a message indicating “Valid checksum.” This means your backup process was successful.
- Create Your Keystore: Click “Create Keystore” to finalize the creation of your seed phrase.
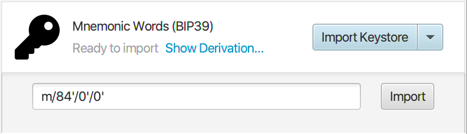
- Derivation Path Verification: Sparrow will display your derivation path. For now, you can leave it as is and click “Import Keystore.”
Sparrow will now use your carefully generated seed phrase to calculate your extended public key (xpub). This xpub represents your wallet’s public address, allowing you to receive Bitcoin transactions.
The Settings screen will display your xpub for the derivation path you chose. Keep this xpub safe, as it can be used to monitor your wallet’s activity.
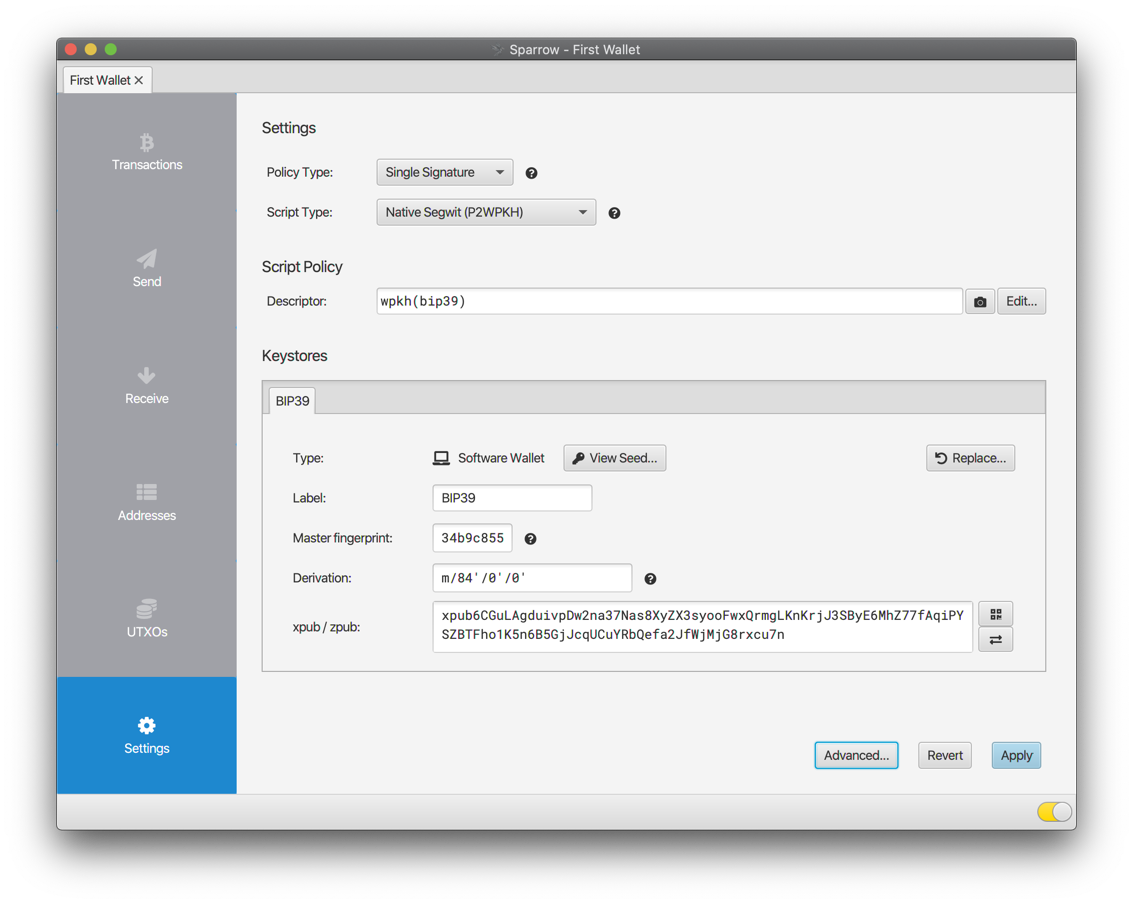
The Keystore section of the Settings screen now displays the following information:
| Field | Description |
|---|---|
| Label | A user-friendly name for your keystore (used for identification during signing). |
| Master Fingerprint | A unique identifier for the master private key of your keystore. This remains consistent across derivation paths. |
| Derivation | Specifies the path used to derive your xpub, which is usually unique for each script type. |
| xpub | The public key derived at the given derivation. Different script types might have aliases (ypub, zpub, etc.). These are synonymous and Sparrow lets you switch between them using the |
Since you already specified these details when creating your seed, you don’t need to make any adjustments here. Your wallet is now fully configured!
Click the “Apply” button to save your wallet settings. You’ll be prompted to set a password for your wallet. This password will be used to protect your wallet. Once the settings are applied, the grey tabs on the left will turn blue, indicating that your wallet is active.
Ready to Receive: You can now explore your wallet’s features:
- Addresses Tab: View the addresses associated with your wallet.
- Receive Tab: Get a new address to receive Bitcoin funds. Click “Get Next Address” to obtain your first address.
Once you’ve sent funds to your newly generated address, they will appear in the Transactions tab.
This Quick Start Guide has provided a foundational understanding of creating a single-signature wallet within Sparrow. However, it’s just the beginning of your Sparrow journey!